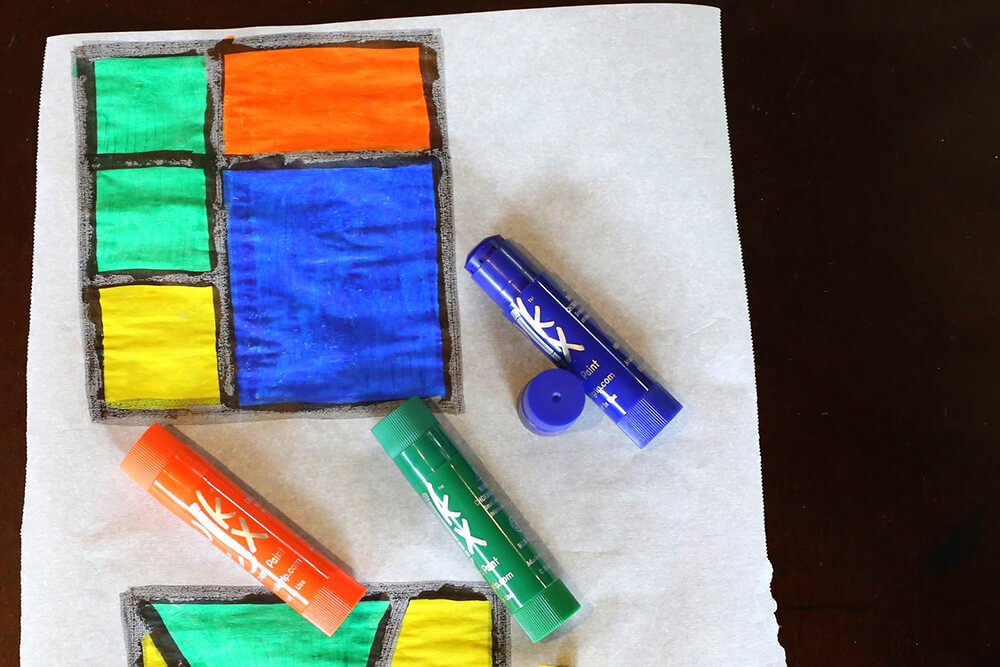
It’s no secret that we LOVE Kwik Stix. You’ve seen us post about them before and you’ve seen them pop up repeatedly on our Instagram account. They are so easy to use and the colors are so vibrant, they are easily one of our favorite art supplies (and definitely X’s favorite). They are very easy for little hands to open and close alone and because they are WAY less messy than paint (and are totally washable and allergen-free) they make a great first art supply for toddlers.
But they aren’t JUST for toddlers. S and even I love using them as well. They are almost like coloring with a glue stick pastel. They glide on effortlessly and the colors are just so beautiful! Not only do they come in standard color packs (both 6 and 12), but they also have metallic and neon! With the holidays coming up these would make a perfect stocking stuffer.
OK, OK, you get that we love them. Let’s move on to this easy and gorgeous art project! It works well with just a kid or two, but I also think it would be really cool as a class art project for any of you who are teachers or art docents.
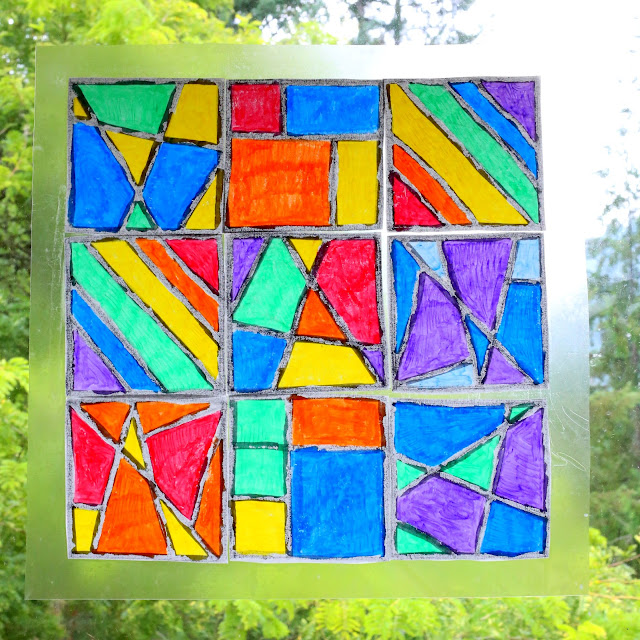
What window wouldn’t look better with light pouring through this, right?
So here’s how you make your own. Step One: Print the printable templates I’m providing for free from here. Make sure you print them “landscape” and not “portrait”. Grab some parchment paper (wax paper works *almost* as well if you don’t have any parchment paper on hand) and trace whatever pattern strikes your fancy from the printable.
Step Two: Color the parchment paper tiles in with Kwik Stix!
Step Three: Cut the tiles out with scissors.
Step Four: Hang them in your window! Sticky tack or tape will work, but we opted to lay all the tiles face down on the sticky side of a square of contact paper and hang it in our window that way.
Voila! Your window is now super beautiful!


Leave A Comment